Dealing with taxes can be a real headache. But understanding VAT (Value Added Tax), especially in the Netherlands, doesn’t have to be. This guide will …
Understanding vat rates and calculations in the netherlands


Waar je wat leert van blogs
Dealing with taxes can be a real headache. But understanding VAT (Value Added Tax), especially in the Netherlands, doesn’t have to be. This guide will …

Zakelijke mobiliteit is een cruciaal onderdeel van elk bedrijf. Met de vele opties die er zijn, kan het soms lastig zijn om door de bomen …

In de wereld van wetenschappelijk onderzoek kunnen de juiste middelen het verschil maken tussen een idee dat in het lab blijft hangen en een ontdekking …

Volkswagen campers hebben een onmiskenbare charme die generaties lang avonturiers heeft aangesproken. Of het nu gaat om de klassieke T1, beter bekend als de “Hippiebus” …
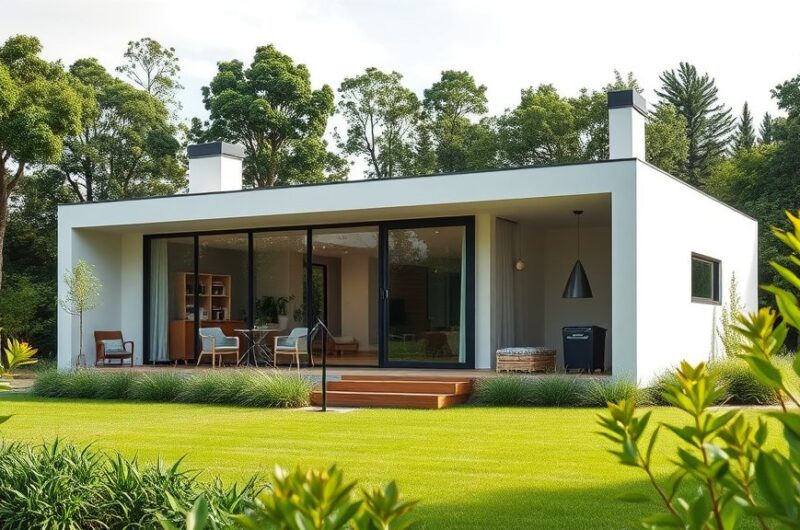
Prefab woningen, ook wel bekend als geprefabriceerde huizen, winnen snel aan populariteit in de bouwsector. Deze woningen worden grotendeels in een fabriek geproduceerd en vervolgens …

Het bouwen van een huis is vaak een tijdrovend en complex proces. Van het ontwerpen van de plattegrond tot het kiezen van de juiste materialen, …
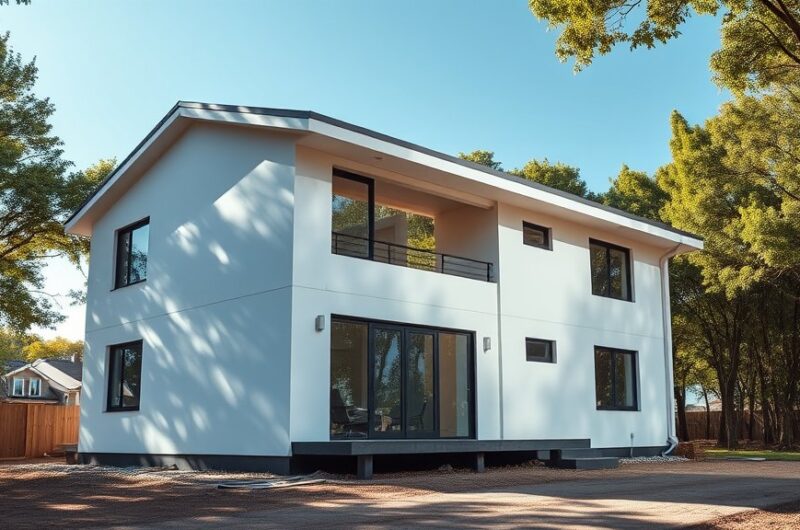
Prefab huizen bieden een kostenefficiënte oplossing voor woningbouw. Door gebruik te maken van vooraf geproduceerde bouwonderdelen, kunnen de totale bouwkosten aanzienlijk worden verlaagd. Dit komt …

Composieten zijn echt een gamechanger. Ze combineren de beste eigenschappen van verschillende materialen in één product. Neem bijvoorbeeld composiet gevelbekleding. Het is een mix van …

Childcare benefits can be a real game-changer for parents trying to juggle work and family life. The Netherlands offers two main types of support: Kinderopvangtoeslag …
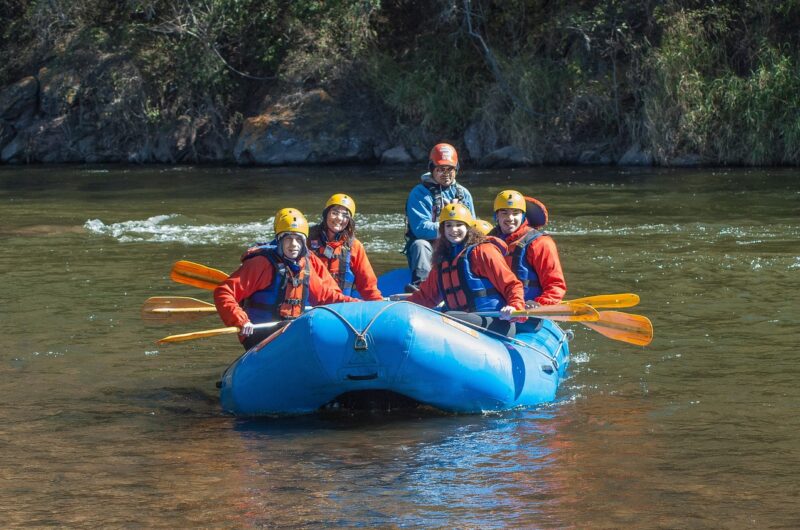
Raften in Europa biedt een combinatie van adrenaline, prachtige natuur en culturele ontdekkingen. Van de ruige Zambezi in Servië tot de ijskoude wateren van Noorwegen, …